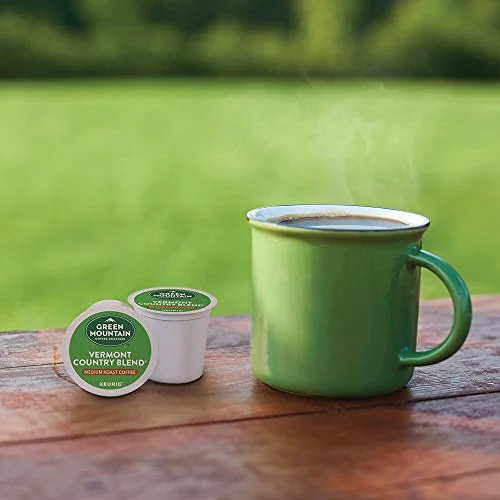
A good everyday coffee routine should be easy to repeat. With Green Mountain Coffee Roasters K-Cup pods, the coffee is already portioned, so your useful choices are the blend, the water, the serving size and what you add afterward. You can improve a cup that feels too light, too hot or poorly balanced without turning the kitchen into a laboratory. The key is to make one change, taste the result and keep the setting that works for you.
This guide is for the brewer you already have. Controls differ between Keurig models, so use your machine's manual for supported sizes, cleaning instructions and any special iced or strength settings. The preparation ideas here are practical starting points, not a replacement for those instructions. We will work through a straightforward morning cup, common taste problems, milk and ice, and a small routine that helps you compare Green Mountain blends fairly.
Know which format you are buying
K-Cup pods are a specific single-serve format. The Green Mountain products in this collection contain genuine Keurig K-Cup pods for compatible Keurig brewers. They are not espresso capsules, loose grounds or an interchangeable fit for every machine described as a pod coffee maker. Before ordering, check the format your machine accepts. A familiar coffee name on the front of a box does not establish compatibility by itself.
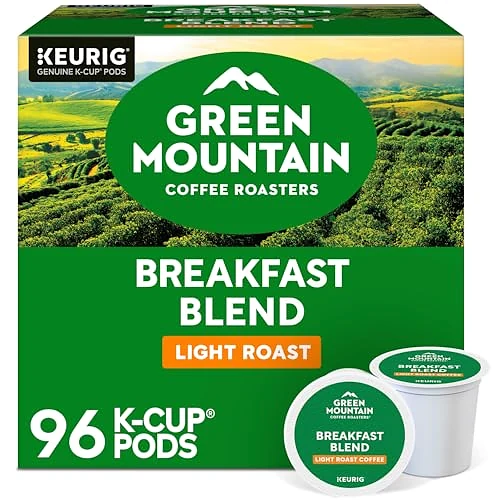
Read the product title and pack count together. Breakfast Blend can appear in several package sizes and other formats elsewhere, but a page for ninety-six K-Cup pods describes that particular offer. The photographs may also show the brand's evolving packaging. The selected count and format are the details that determine what you are buying, so confirm both again on the purchase page.
If you are buying for someone else's kitchen or a shared office, ask for the machine model before choosing a format. A picture of the pod holder or the model label can save a mistaken order. Do not force an unfamiliar capsule into a brewer or adapt a sealed pod to a machine it was not designed to fit. Start with compatible supplies, then work on taste.
Choose a baseline coffee
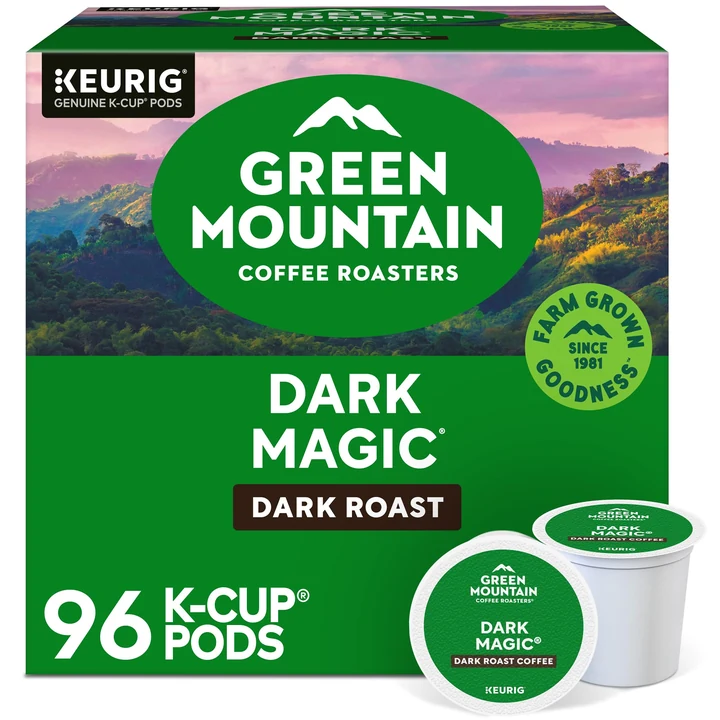
Start with a coffee whose description sounds close to your usual preference. Breakfast Blend offers a light, bright and nutty direction. Vermont Country Blend is a medium roast with toasted flavors and a brown-sugar finish. Dark Magic gives you a deeper roast profile. Picking one familiar direction makes it easier to tell whether a brewing adjustment helps.
Keep that coffee constant for the first few cups. If you change the blend, serving size, water and creamer at once, a better result will not tell you which change mattered. There is no need for a complicated tasting log. A note such as "eight ounces, usual milk, good balance" records enough to repeat a useful result, provided that size is available on your machine.
After you establish a comfortable setting, explore another blend. Use the same preparation so the comparison is meaningful. The roast guide explains which pairs answer different taste questions, including a light-to-medium comparison and a comparison between two dark-roast profiles.
Begin with the mug and water
A clean mug matters because coffee shares the cup with everything left from the previous drink. Check for detergent fragrance, dried milk and a lid that still smells of yesterday's flavored coffee. Travel-mug lids often have several parts; clean them according to their manufacturer's instructions. A clean-looking outside does not tell you what remains around a drinking opening or seal.
Use fresh water and follow the brewer's guidance about suitable water and filters. Water that you dislike drinking on its own is a poor starting point for a cup whose flavor you want to judge. If you change your water source, record that as the day's experiment. You do not need to prescribe a mineral formula to notice whether your usual water is affecting the result.
Fill only as directed and keep the reservoir clean using the machine's instructions. Do not put milk, syrups or other drinks into a water reservoir. Those additions belong in your cup after brewing. Let the machine's normal operation and maintenance instructions govern how you handle its internal parts; flavor experiments should stay within the supported brewing process.
Understand the relationship between water and one pod
One sealed pod contains a fixed portion of coffee. When you send more water through that portion, you change the concentration and extraction of the drink. That is why a large cup can taste different from a smaller serving of the same blend. Selecting a larger size does not add another portion of grounds. It asks the existing portion to make a larger drink.
If your coffee feels weak, try the next smaller supported size with a fresh pod. Taste it before adding milk. You may prefer the result immediately, or you may decide that a smaller, more concentrated coffee plus your usual milk fits your mug better. Make the comparison on a day when the blend and water are unchanged so that the serving size is the only major difference.
For a larger mug with more coffee character, consider brewing two fresh pods using appropriate smaller settings, if your machine supports that routine. Leave enough room to avoid overflow and account for any milk. This uses more coffee and costs more per drink than one pod. Make the choice deliberately instead of assuming that a very large setting will taste the same as two portions.
A simple first-cup routine
Place a clean mug under the outlet and confirm that it can hold the selected serving plus any additions. Insert a compatible fresh pod as your brewer directs. Choose a familiar supported size and use the standard brew setting first. Allow the brew cycle to finish before moving the mug or opening the machine. Follow the manual for removing the used pod and handling hot parts.
Taste a small amount once the coffee is comfortably warm. Notice the overall balance rather than searching for specific flavor notes immediately. If you normally drink milk in coffee, add your usual amount afterward and taste again. This quick before-and-after comparison shows whether the change you want concerns the coffee itself or the finished drink with additions.
Write down the blend and setting if the cup works particularly well. A reliable routine is easier to maintain when it is specific. "Medium roast" is too broad to reproduce a favorite cup, while "Vermont Country Blend, my regular small setting, one measured splash of milk" preserves the decisions that made the difference for you.
Use strength settings as your machine describes
Some brewers provide a strong setting or other controls that alter the brew cycle. The effect and available combinations depend on the model. Read the manual before assuming that a button increases the amount of coffee, raises caffeine content by a predictable amount or produces espresso. A control labeled strong is a brewing feature, not a new pod formulation.
If your machine offers that setting, compare it with the standard cycle using the same coffee and serving size. Use a fresh pod for each cup. Decide whether you prefer the change in the actual drink, including milk if that is your routine. There is no reason to use a setting just because its name sounds more advanced or more intense.
When helping another person use your machine, explain the setting you normally choose rather than leaving them to infer it. A small note near a shared brewer can list the preferred cup size, where the regular and Half Caff pods are stored, and where the manual can be found. Keep the instructions brief enough to read before pressing a button.
When the cup tastes too light
A light-tasting cup can come from several different situations. The blend may be intentionally gentle, the brew size may be larger than you enjoy, or your usual amount of milk may soften it more than expected. First decide what you mean by light. Is the coffee watery before you add anything, or does the flavor disappear only after you fill the rest of the mug with milk?
For a cup that feels watery on its own, compare a smaller supported serving. For coffee that loses definition after additions, measure a smaller amount of milk or try a blend with a deeper profile. Dark Magic and Horizon Blend offer dark-roast directions to explore, while a medium roast may be enough if you do not want a pronounced roasted finish.
Do not judge the whole light-roast category from an oversized serving. Breakfast Blend is meant to have a bright, balanced character. You can enjoy that style in a serving that gives it enough presence. Change the preparation first, then decide whether another blend would better suit your preference.
When the flavor seems too intense
If a cup tastes more assertive than you want, let it cool to a comfortable temperature and taste again before changing anything. Heat can distract from the character you are trying to judge. Ask whether the issue is overall concentration, a prominent roast finish or a named flavor that you simply do not enjoy. Those observations suggest different adjustments.
For concentration, a little hot water added to the brewed cup gives you a way to dilute gradually and stop where you prefer. Handle hot water carefully and leave room in the mug. For a roast profile you dislike, compare a medium or light roast instead. Adding more water cannot turn the character of Dark Magic into the character of Breakfast Blend.
If every coffee tastes unusually harsh or different from your normal result, return to the basics: cup cleanliness, water and the maintenance described in your machine's manual. Do not keep compensating with more sugar while ignoring a change in the brewer's behavior. Unusual flow, leaking or repeated brewing faults call for model-specific troubleshooting, not another flavor experiment.
Milk changes more than temperature
Milk adds volume and changes the texture and overall balance of a cup. The type, amount and temperature all affect the drink. For a useful comparison, measure the addition once instead of relying on an uncertain splash. You may discover that the coffee you thought was inconsistent was actually receiving very different amounts of milk from one morning to the next.
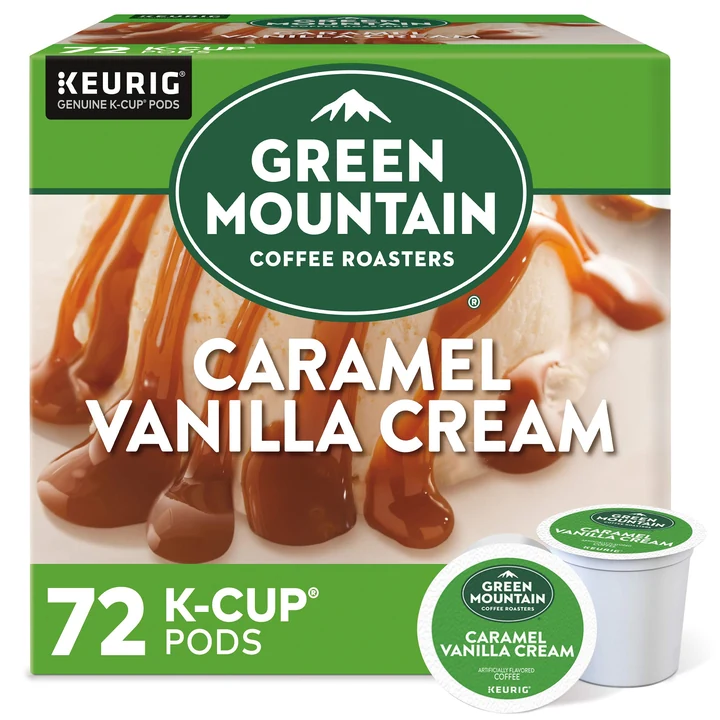
Start with less than you think you need, stir and taste. You can always add more, but you cannot remove it from the cup. If you use a flavored creamer, remember that it brings another flavor along with its texture and sweetness. A caramel creamer can make it harder to notice the difference between a plain medium roast and Caramel Vanilla Cream coffee.
If you warm or froth milk, use equipment intended for that purpose and follow its instructions. A K-Cup brew remains brewed coffee even when topped with foam. You can make an enjoyable coffee-and-milk drink without describing it as espresso or promising the same result as a café espresso machine. Choose the name and expectation that match what you actually prepare.
Make an iced version thoughtfully
Ice becomes water as it melts, so an iced drink has a second source of dilution. Begin with a brew size and method supported by your machine, using its iced guidance where available. Choose a cup suitable for the temperature involved and leave room for ice and additions. Do not pour very hot coffee into glassware that is not designed to tolerate it.
The useful question is how the drink tastes after the ice has been in the cup for a few minutes. A coffee that seems ideal immediately may become too light as the ice melts. A smaller, more concentrated starting brew can be worth comparing, but the right amount depends on your cup and the method your brewer supports. Keep the blend constant while you adjust that ratio.
Try an unflavored medium roast first if you want to understand the effect of ice clearly. Once you have a preparation you like, compare Caramel Vanilla Cream or Hazelnut. Add milk or sweetener after tasting the coffee rather than assuming that every iced cup needs the same recipe.
Match the preparation to the occasion
| Situation | First adjustment to try | What to keep unchanged |
|---|---|---|
| Coffee seems watery | A smaller supported serving | Blend and water source |
| Milk hides the coffee | Measure a smaller milk addition | Brew size and pod |
| Dark roast feels too assertive | Compare a medium roast | Cup and serving size |
| Iced coffee fades quickly | Review the coffee-to-ice balance | Blend and additions |
| Flavor changes across all pods | Check cleanliness and maintenance | Avoid changing several coffees at once |
| Shared kitchen has mixed preferences | Label blends and caffeine choices | Clear machine instructions |
This table gives you an order for experimenting. It does not diagnose a defective machine or establish one ideal setting for every model. If the brewer produces unexpected results, stops mid-cycle or behaves differently from its instructions, consult the manufacturer's support information. Taste adjustments are useful only when the equipment is operating normally.
Keep routine cleaning separate from descaling
Cleaning removable surfaces and descaling a brewer are different maintenance tasks. Your machine's manual identifies which parts can be removed, how they should be washed and how the descaling process works. Follow that guidance rather than applying one internet recipe to every brewer. Products, quantities and button sequences can differ between models.
Create a reminder based on the instructions and your machine's prompts, not a schedule invented for all households. Heavy use and local water conditions can affect maintenance needs. Keep the manual accessible so that a reminder leads to the correct procedure. If several people share the kitchen, agree on who checks the machine rather than assuming someone else has done it.
After maintenance, complete the rinsing steps specified for your model before making another coffee. Then return to your usual blend and setting to assess the result. That familiar cup is a better reference than trying an unfamiliar flavored pod immediately. It helps you notice whether the normal taste and flow have returned without mixing in another new variable.
Store pods so the routine stays clear
Keep pods in a cool, dry place and follow the storage information on their packaging. Avoid spots beside a hot appliance or where water regularly splashes. A display rack can be convenient, but convenience should not mean leaving the coffee exposed to unnecessary heat. Check package condition and the printed date when you receive a new box.
If you decant pods into a drawer, preserve the names and caffeine distinctions. Similar lid colors can be easy to confuse at a glance. Separate Half Caff from regular coffee and give flavored blends their own section if several people use them. A readable label is especially helpful when someone is preparing a cup for a guest.
Rotate older supplies forward and buy at a pace that matches actual use. At two pods a day, ninety-six pods represent roughly forty-eight days of coffee. That calculation is a stock-planning example, not a statement about product shelf life. The date and storage guidance on the actual package remain the relevant reference for the pods you own.
Dispose of the used pod according to local guidance
Let a used pod cool before handling it. Where the packaging gives recycling instructions, read the complete direction, including local limitations. Green Mountain's pod messaging includes checking local acceptance because these pods are not recycled in many communities. A recyclable material description alone does not tell you whether your collection service accepts the particular item.
Follow your community's current sorting rules and the instructions for the package you have. Do not assume that a symbol on one generation of packaging applies in exactly the same way to every pod or every location. If your local service does not accept the item, use the disposal route it specifies instead of adding it to a recycling bin on hope alone.
Keep this step easy to carry out in a shared kitchen. An accessible waste container and clear local instructions are more practical than a vague sustainability sign. Avoid making environmental comparisons between brewing methods without evidence about the actual materials, energy, waste and collection systems involved. This guide's task is to help you use and dispose of the product you chose correctly.
Prepare a travel cup without losing the balance
A travel mug changes how you experience coffee because it often holds more than a household cup and keeps the drink warm for longer. Check its capacity before choosing the brew size. Leave room for milk and the lid, and use the mug according to its manufacturer's instructions. A mug that fits below the outlet can still be too small for the selected serving plus additions.
Start by reproducing your preferred home preparation rather than filling the container to its maximum capacity. If you enjoy a smaller coffee, an oversized travel mug does not require you to make a larger, more diluted drink. For a larger serving, plan the coffee quantity deliberately using fresh pods and supported machine settings. Do not repeatedly run water through one used pod to fill the remaining space.
Clean the lid thoroughly after use, especially if you add milk or flavored creamer. Separate removable components only as directed and let them dry as their instructions recommend. A persistent smell in a lid can make a new blend seem different from the same coffee served in a clean ceramic cup. When comparing coffees, return to that simple ceramic reference before deciding that a product has changed.
For a shared household, keep the preparation note specific to the person who uses it. One travel mug may need a different fill level from another, and two people can reasonably prefer different coffee-to-milk ratios. A dependable routine respects those differences instead of forcing every cup into the largest available machine setting.
Build a routine you can repeat
The most useful brewing note is short enough to use tomorrow. Record the coffee name, supported size and any addition you want to repeat. If an experiment disappoints, record the specific reason: too much dilution after ice, too little coffee character with milk, or a roast finish you do not prefer. That makes the next change purposeful.
When you want to explore, change one part of that routine. Try Colombia Select in the same preparation as your usual medium roast, or compare a measured milk addition with your ordinary splash. Keep the change small enough that you can explain the result. There is no requirement to turn an enjoyable habit into a daily assessment.
For your next restock, browse the K-Cup collection and check the exact count, roast and flavor. Keep the coffee that fits your routine, choose a second only if it serves another preference, and leave your useful brewing note where you can find it before the next cup.
Product characteristics are based on the individual product information. Follow the current package and your brewer’s manual for ingredients, compatibility, care and handling.